Wood panelling for interior walls is an excellent way to add warmth, texture, and timeless elegance to any room. Whether you’re aiming for a rustic, modern, or classic look, wood panelling offers a versatile and durable solution that enhances the aesthetic appeal and value of your home. At Slat Solution, we understand the importance of a straightforward, professional installation process, so this guide will walk you through how to install wood panelling for interior walls easily and effectively.
Why Choose Wood Panelling for Interior Walls?
Before diving into the installation process, it’s important to understand why wood panelling is such a popular choice.
Aesthetic Appeal and Versatility
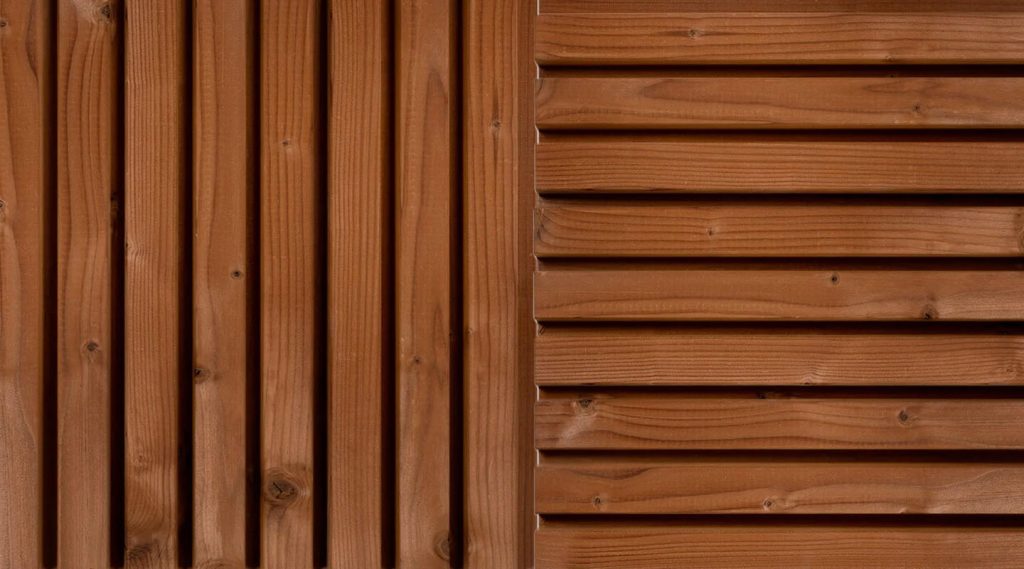
Wood panelling for interior walls creates a warm and inviting atmosphere. It comes in various styles—shiplap, beadboard, reclaimed wood, and more—allowing you to tailor your space to your personal taste.
Durability and Maintenance
High-quality wood panelling is durable and relatively easy to maintain. It can withstand everyday wear and tear better than many paint or wallpaper options, making it a long-term investment in your home’s interior.
Insulation and Acoustics
Wood panelling also offers added insulation and soundproofing benefits. This can help regulate temperature and reduce noise, creating a more comfortable living environment.
Tools and Materials Needed for Installing Wood Panelling for Interior Walls
Before beginning the installation, gather all necessary tools and materials to ensure a smooth and efficient process.
- Wood panels (choose the type and style that suits your design)
- Measuring tape
- Level
- Stud finder
- Adhesive (construction glue)
- Nails or screws
- Nail gun or hammer
- Saw (circular or miter saw)
- Sandpaper
- Caulk and paint or wood finish (optional)
- Safety goggles and gloves
Preparing Your Walls for Wood Panelling
Proper preparation is key to successfully installing wood panelling for interior walls.
Inspect and Clean the Walls
Make sure the wall surface is clean, dry, and free from any loose paint or debris. Patch any holes or cracks and sand smooth to create an even surface.
Locate the Studs
Using a stud finder, mark the locations of the studs along the wall. Securing your wood panelling to the studs ensures a stronger, more stable installation.
Measure and Plan Your Layout
Measure the height and width of your walls, then plan how the panels will be arranged. Decide whether you want horizontal, vertical, or diagonal placement, and calculate the number of panels needed, including allowances for cuts and waste.
Step-by-Step Guide to Installing Wood Panelling for Interior Walls
Step 1: Cut the Panels to Size
Using a saw, cut the wood panels to fit your wall dimensions precisely. Always wear safety goggles and gloves when handling tools.
Step 2: Sand the Edges and Surface
Sand any rough edges or surfaces to prevent splinters and to ensure a smooth finish for painting or staining later.
Step 3: Apply Adhesive to the Back of the Panels
Apply a strong construction adhesive to the back of each wood panel. This helps secure the panels to the wall and reduces the number of fasteners needed.
Step 4: Position the Panels on the Wall
Starting at one corner of the room, press the first panel firmly against the wall, ensuring it is level. Use a level frequently to maintain straight lines.
Step 5: Nail or Screw the Panels into Place
Secure each panel to the wall studs using nails or screws. A nail gun makes this faster, but a hammer will also work. Be sure to countersink nails slightly below the wood surface for a cleaner look.
Step 6: Fill Nail Holes and Gaps
Use wood filler or caulk to fill in any nail holes or gaps between panels. This step is crucial for a polished, professional finish.
Step 7: Sand and Finish the Surface
After the filler has dried, sand the area smooth. Then, apply paint, stain, or a clear wood finish to protect the panels and enhance their appearance.
Tips for Maintaining Wood Panelling for Interior Walls
- Regularly dust and clean the panels with a soft cloth or vacuum attachment.
- Avoid excessive moisture; wipe spills immediately to prevent warping or staining.
- Refinish the wood panelling periodically to maintain its appearance and durability.
Common Mistakes to Avoid When Installing Wood Panelling for Interior Walls
Poor Measurement and Cutting
Accurate measurements and cuts are vital. Inaccurate cuts can lead to gaps or uneven panels, which detract from the overall look.
Skipping Stud Attachment
Fastening only with adhesive can cause panels to loosen over time. Always nail or screw panels into studs for long-term stability.
Ignoring Wall Preparation
Failing to clean and prep the wall can prevent adhesive from bonding correctly and reduce the lifespan of your wood panelling.
Overlooking Finishing Touches
Not filling holes or sanding rough spots leaves your project looking incomplete and unprofessional.
Benefits of Hiring a Professional vs. DIY Installation
While installing wood panelling for interior walls can be a manageable DIY project, hiring a professional ensures:
- Precise measurement and cutting
- Proper tools and expertise
- Time-saving and reduced stress
- High-quality finish and durability
Consider your skill level, time availability, and budget before deciding which route to take.
Conclusion
Installing wood panelling for interior walls is a rewarding way to transform your living space with natural beauty and lasting appeal. By carefully preparing your walls, using the right tools, and following the step-by-step process outlined above, you can achieve a professional-looking installation with ease. Remember to choose quality materials, measure precisely, and take your time with finishing touches to make your wood panelling project truly stand out. Whether you do it yourself or hire a professional, wood panelling for interior walls offers timeless style and practical benefits that enhance any home. At Slat Solution, we’re here to support your home improvement journey with expert advice and premium materials.